Anonymous

engine bay gets de - shultzed and painted

The all purpose forum for any TR7/8 related topics.
gaz
TRemendous
Posts: 2441
Joined: 12 Jan 2004 19:16
Location: United Kingdom
Contact:

Postby gaz » 21 Nov 2008 18:37

not the best photo but looks sweet..........

Image

It rides again.....
ImageImageImage

PeterTR7V8
TRemendous
Posts: 2914
Joined: 10 Jun 2008 02:22
Location: New Zealand
Contact:

Postby PeterTR7V8 » 21 Nov 2008 20:05

It does look sweet & I like the way you've found to recycle some old cam belts. Innovation in the garage is what separates us from women [:D]

************************************************************************
To do list:
Upholstery/Motor/Gearbox/Suspension/Brakes/Carb/Tyres../Gearbox/Cam+Motor/Paint
Done......./done./done....../done......../done../done/done/redone.../under way.../under way
Blog: http://www.forum.triumphtr7.com/topic.asp?TOPIC_ID=8548 Image

gaz
TRemendous
Posts: 2441
Joined: 12 Jan 2004 19:16
Location: United Kingdom
Contact:

Postby gaz » 22 Nov 2008 06:29

not my idea mate i only wish i was good with spanners the guy who's doing the rebuild is.........
and likes to play
take look at his baby.......
Image

It rides again.....
ImageImageImage

gaz
TRemendous
Posts: 2441
Joined: 12 Jan 2004 19:16
Location: United Kingdom
Contact:

Postby gaz » 24 Feb 2009 22:55

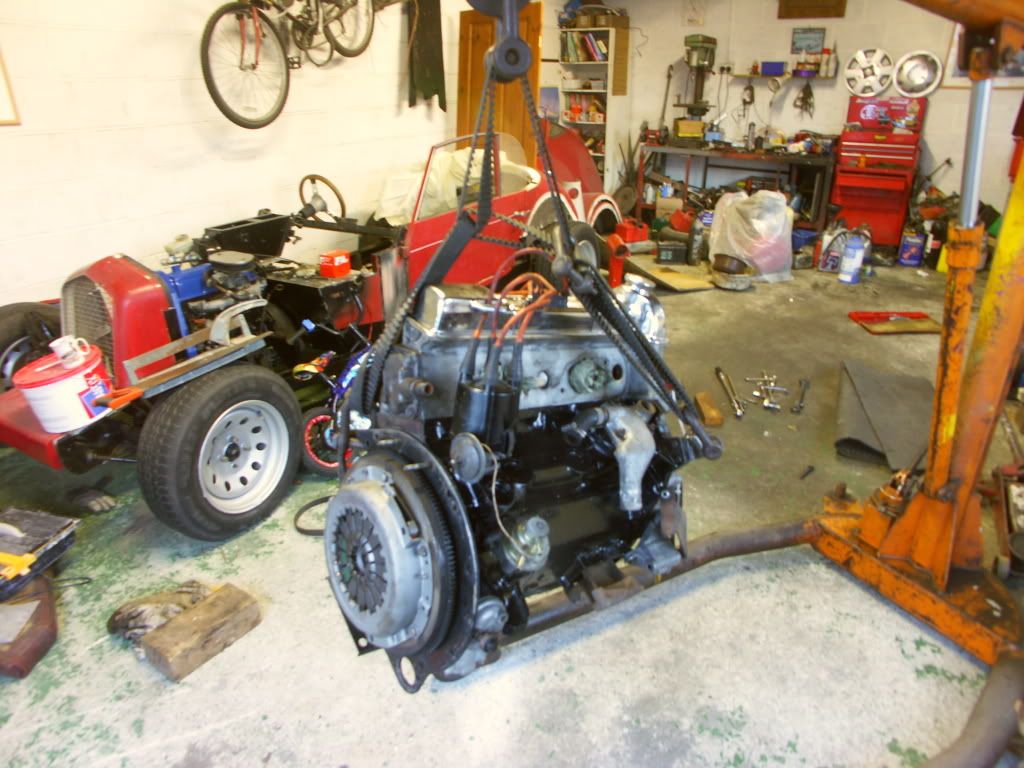
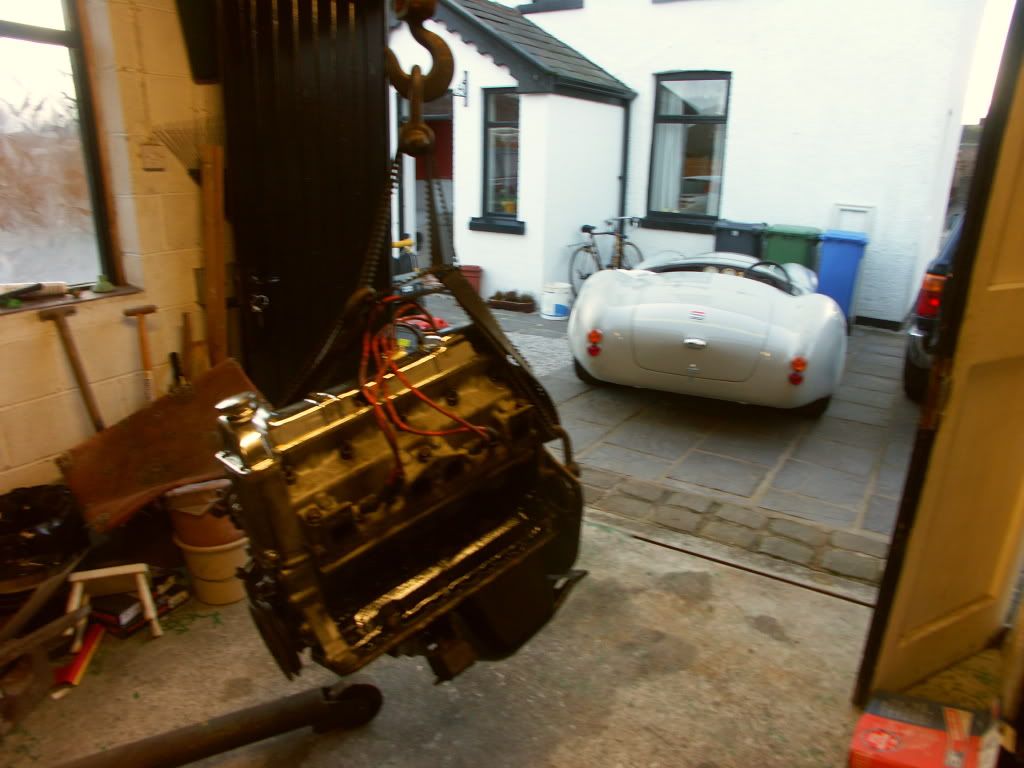
well as you all know the car is out of the kiln and hopefully back on track for getting back on the road again.........
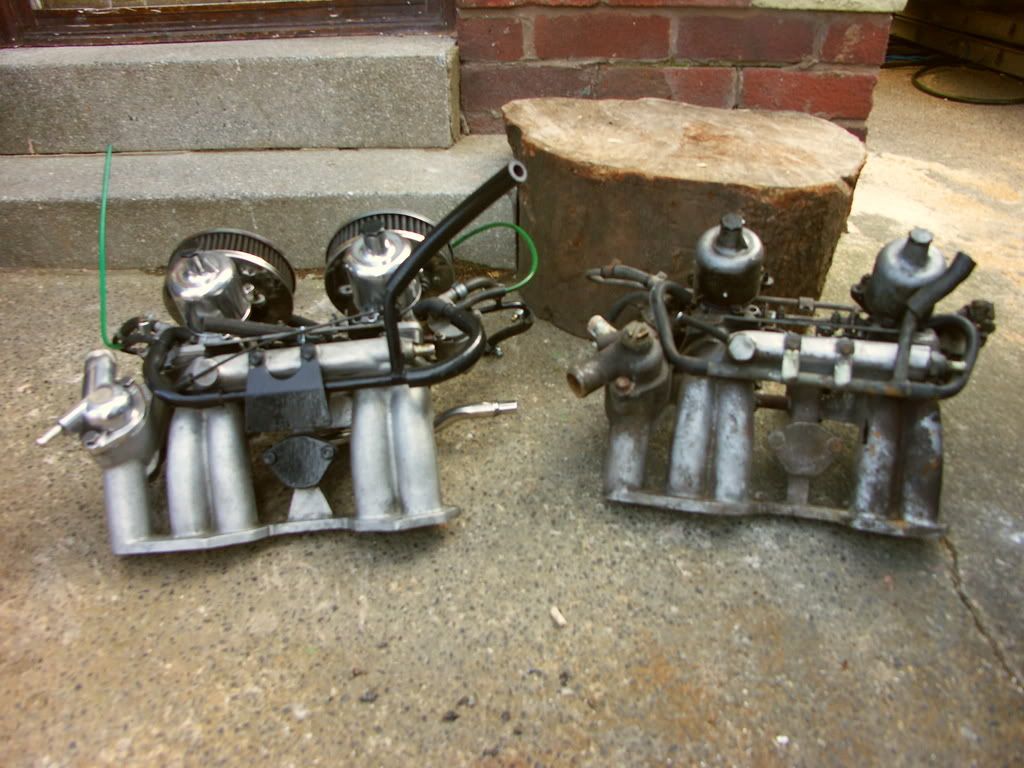
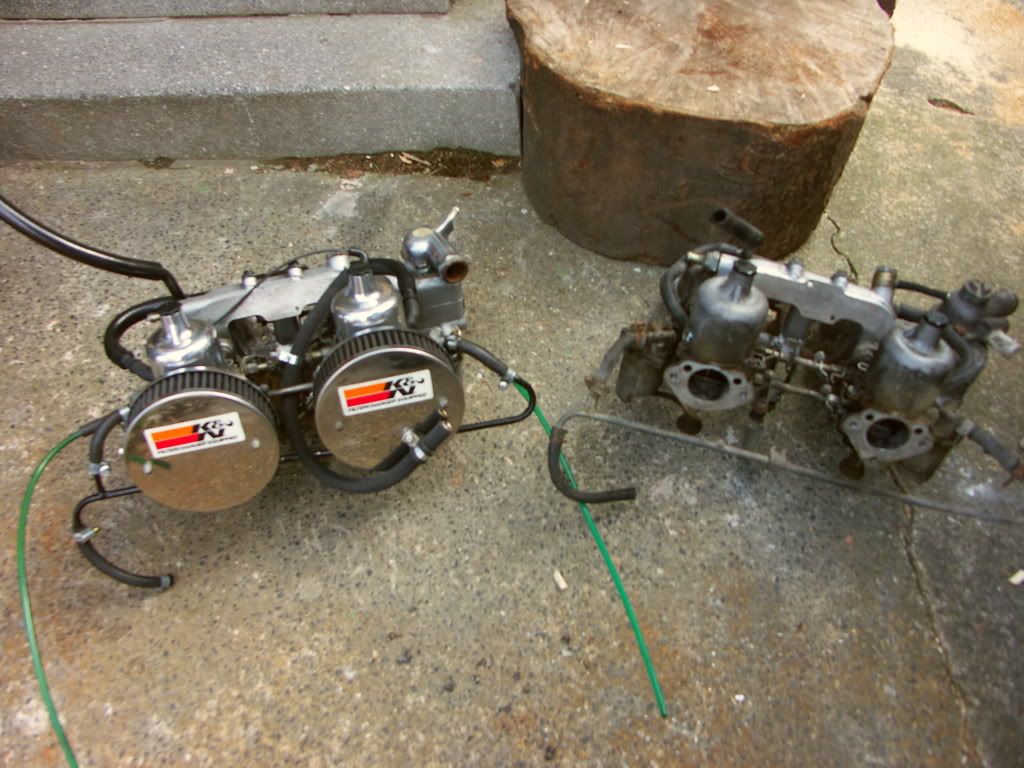
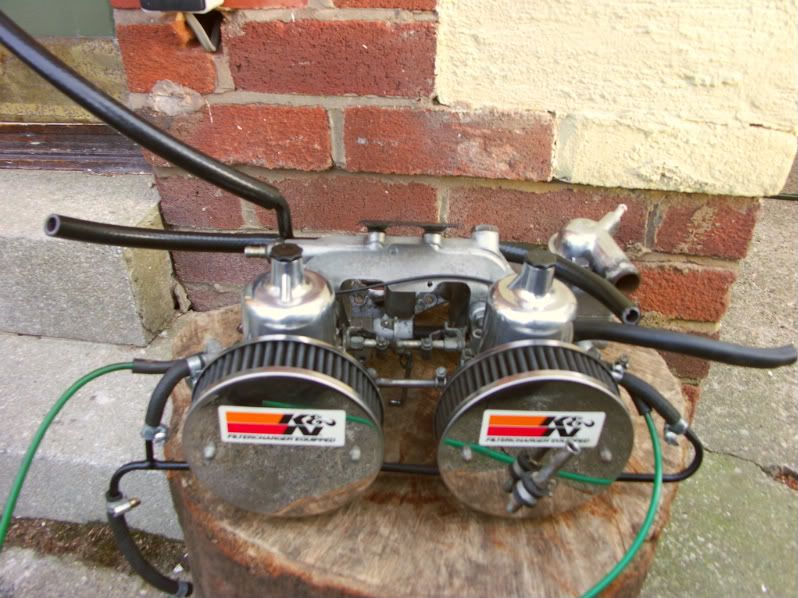
i brought the carbs and inlet manifold back with me the other for a bit of spit 'N' polish and boy did they come up well i tried engine de-greaser, carb cleaner and allsorts on the manifold but the stuff that worked best was wd40 wire wool and a wire brush oh, and a dremmel for those hard to reach corners.......

the dash pots and thermostat housing were polished by a local firm who my brother deals with they cost me £10 hardly worth polishing my self for that sort of money........

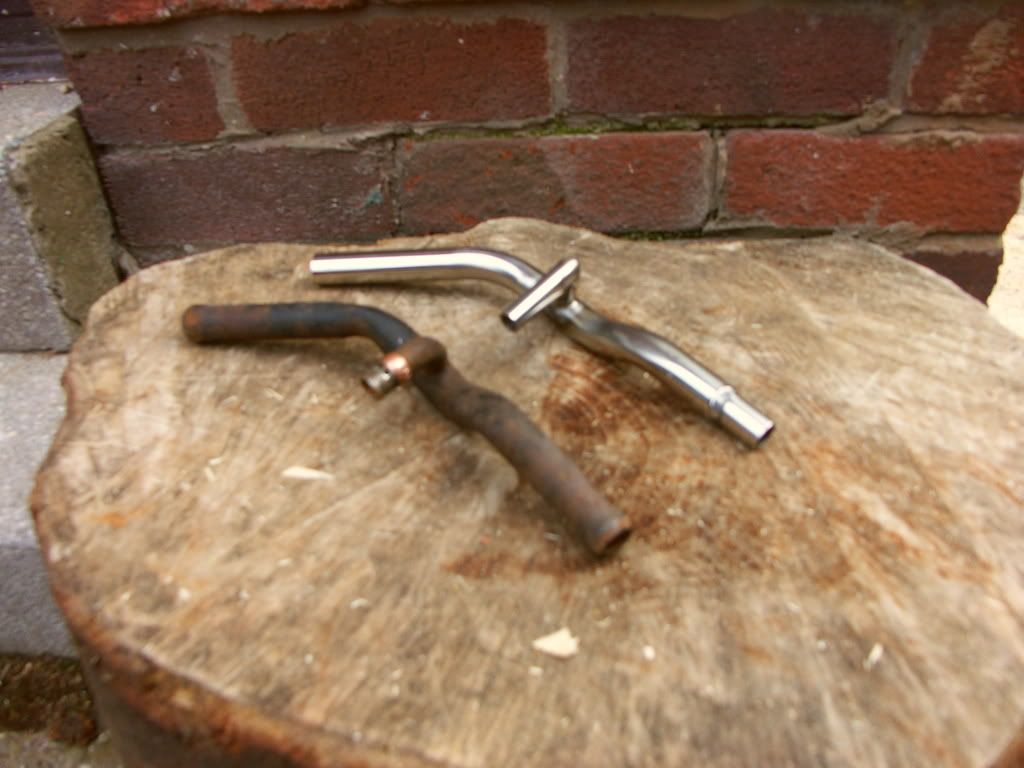
but what i was suprised at was the amout of crud in the bottom 't'shaped pipe the one with the olive and nut that fastens onto the union at the bottom of the inlet manifold couldn't get get that cleared " worse than the old wax in my ears " " hey what did you say " " i heard that pardon "............
S&S have stainless steel replacments so with a brand new one ordered should be a while till it ends up in the same state....
i wouldn't mind i have a spare set of inlet manifold & carbs and the bottom pipe was actually in a worse state than mine makes me wonder how many of us have the same problem unknown to ourselves i presume it pretty common..........

anyway here's a piccy:
Image

It rides again.....
ImageImageImage

gaz
TRemendous
Posts: 2441
Joined: 12 Jan 2004 19:16
Location: United Kingdom
Contact:

Postby gaz » 07 Mar 2009 07:14

thougt i would post a couple of piccies for commparison to escape any confusion the one with the pancakes is going on the car a little elbow grease is all you need
the second set i bought for spares of fleebay very very cheap and came with the pancakes


Image

Image

stainless water pipe.....located underneath the manifold..
now this suprised me cos the spares set was in the same state as mine......blocked on that little "u" bend and nothing on either pipe could be shifted i used hot water paintstipper wd40 even a couple of interwound paperclips in a drill and also a dremmil
then i found that repalcment are cheap and won't rust
as said before i wonder how many of us have or are driving around with a small blockage..............

Image

It rides again.....
ImageImageImage

nervousnewowner
TRiffic
Posts: 1607
Joined: 10 Oct 2008 20:15
Location: United Kingdom
Contact:

Postby nervousnewowner » 07 Mar 2009 17:09

frost catalogue worth getting hold of they do a full range of paint and colours to give the factory look to pretty much everything under the bonnet......on the subject of the wraps was thinking of putting it on my tubular manifold as the heat so close to the starter cant be good for it but someone mentions the original heat shield.... not one on mine, previous owner must of removed it for some reason....

gaz
TRemendous
Posts: 2441
Joined: 12 Jan 2004 19:16
Location: United Kingdom
Contact:

Postby gaz » 09 May 2009 20:29

just finish the thread:

Image

It rides again..... and again wehey!!!!!!!
ImageImageImage

cliff
Rust Hunter
Posts: 184
Joined: 23 Nov 2006 06:08
Location: USA
Contact:

Postby cliff » 09 May 2009 21:21

BBlliinggggg!!!!! Very nice, by the way what is the tag on top of the rh turret??[?]
Cliff[8D]

Don't use force, get a bigger hammer!!

gaz
TRemendous
Posts: 2441
Joined: 12 Jan 2004 19:16
Location: United Kingdom
Contact:

Postby gaz » 09 May 2009 21:56

right hand turret ??? servo side or battery side depends on where your stood, battery side no tag just a rather crude welded patch painted, servo side vin plate

It rides again..... and again wehey!!!!!!!
ImageImageImage

saabfast
TRiffic
Posts: 1936
Joined: 03 Feb 2006 08:17
Location: Bexhill-on-Sea

Postby saabfast » 09 May 2009 22:24

Or do you mean the earth/ground tag on the (UK) offside turret? I assume they all have one as mine has.

Alan
Saab 9000 Stg 1
Saab 9000 2.3 FPT Auto
'81 TR7 DHC
Image

nofinchance
Wedge Pilot
Posts: 340
Joined: 13 Jan 2009 20:11
Location: United Kingdom
Contact:

Postby nofinchance » 10 May 2009 10:44

Love the new engine bay.I have always fancied a 'pimped' painted bay.I like the red bull can thing too YOINK I am stealing that idea[:D]

Mikey
Scuttle Shaker
Posts: 74
Joined: 28 Jul 2005 05:17
Location: Canada
Contact:

Postby Mikey » 11 May 2009 03:21

Your fresh engine bay looks spectacular! I too am in the process of doing this and am wondering what you did to prep your engine bay for new paint? Did you paint with a sprayer, or shakers? A previous owner of my car re-painted the ENTIRE engine bay, wiring and everything else attached a flat black. It has started to peel and I want to repaint it properly. Cheers.

cliff
Rust Hunter
Posts: 184
Joined: 23 Nov 2006 06:08
Location: USA
Contact:

Postby cliff » 12 May 2009 05:36

Gaz, servo/drivers side as in the first picture in this series/thread..[?]

Cliff[8D]


Don't use force, get a bigger hammer!!

gaz
TRemendous
Posts: 2441
Joined: 12 Jan 2004 19:16
Location: United Kingdom
Contact:

Postby gaz » 12 May 2009 06:23

cliff that'll be be vin plate then........

mikey... I didn't prep, or spray it i'm afraid the guy who sprayed the car back in 2007 did it (is it really that long ago)...
he has a college lad who works with him three days a week and there was a chair in the middle of the engine bay and the only time he was alowed to leave it was for toilet breaks poor lad even had to have his lunch in there. three days later he had all the shultz off (thinners and rags), still at least he wasn't making brews and sweeping floors[xx(].

then it was a case of priming and spraying, with spray guns (two pack) it was only a quick flick job (not a show wining finish).

I guess the propper way of doing it would be after all the shultz has gone too grind off all the welds on any patches to make them flush re weld too fill in any small holes that are present and re grind thin skim of filler sand and prep just like the body work oh!, and use seem sealer on all the seams and spray. says me the chippie sound dead easy dosen't it


It rides again..... and again wehey!!!!!!!
ImageImageImage

windy one
Swagester
Posts: 840
Joined: 27 Oct 2008 19:57
Location: USA
Contact:

Postby windy one » 12 May 2009 16:42

Gaz.....Id like to ask, did you install the engine and trans as a whole? Or did you run up the trans from underneith and the engine after?

Im getting ready to install an engine in my TR7, and I pulled the old engine out and left the trans in place. Im just wondering how difficult it will be to reinstall the engine w/the trans still in place, or should I drop the trans out and install both bolted together?

(Ive done a few TR8's while leaving the trans in place, but this is my first TR7 engine replacement)

Johnny

Post Reply

Who is online

Users browsing this forum: No registered users and 73 guests