Anonymous

Exhaust To Manifold Problem

Here’s where to discuss anything specific about your standard(ish) car or something that applies to the model in general.
Post Reply
g4zur
Rust Hunter
Posts: 156
Joined: 20 Jun 2013 21:44
Location: United Kingdom
Contact:

Exhaust To Manifold Problem

Postby g4zur » 30 Mar 2014 17:44

Hi All
Opinions please.
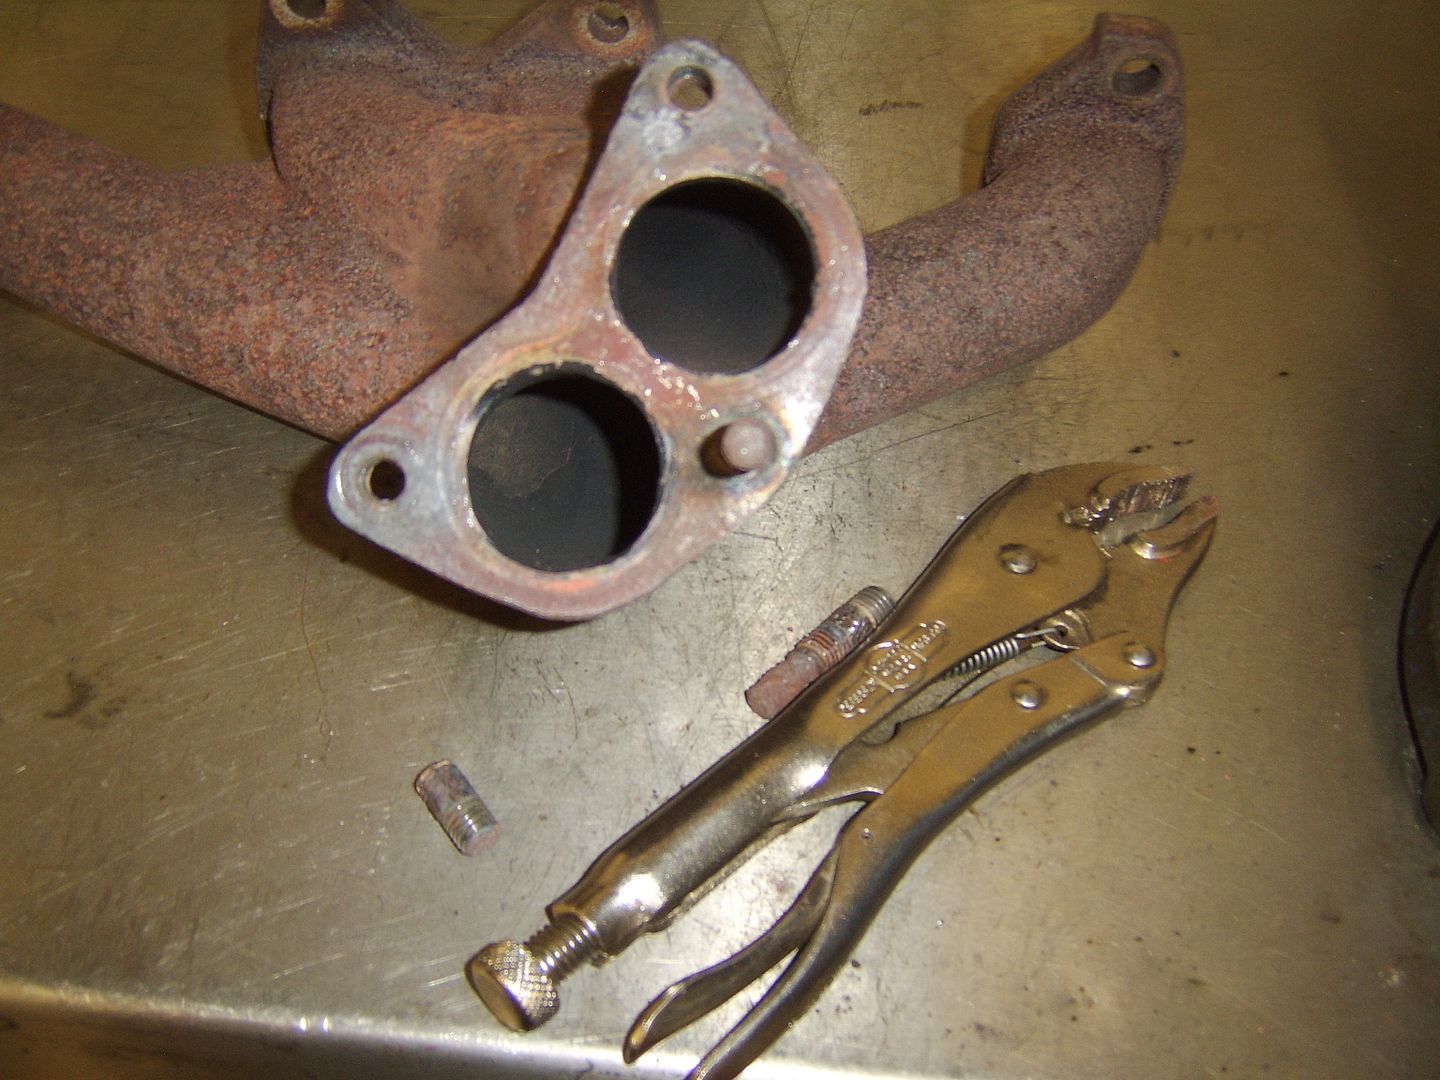
The gasket is blowing between the exhaust down pipe and the exhaust manifold, has done since I bought my wedge (1980 FHC 8 valve 2.0L) last June. I fitted the centre box, rear box and tail pipe a few months ago. Chickened out when it came to the front pipe. All stainless Steel replacements. Due to the three Studs/Nuts being corroded and seized solid.
Tuesday off work for two days and going to sort. QUESTION
I have alternatives.
1. Oxy/acetalene to heat up nuts.
2. Nut splitters
3. Dremmel tool to cut through nuts.
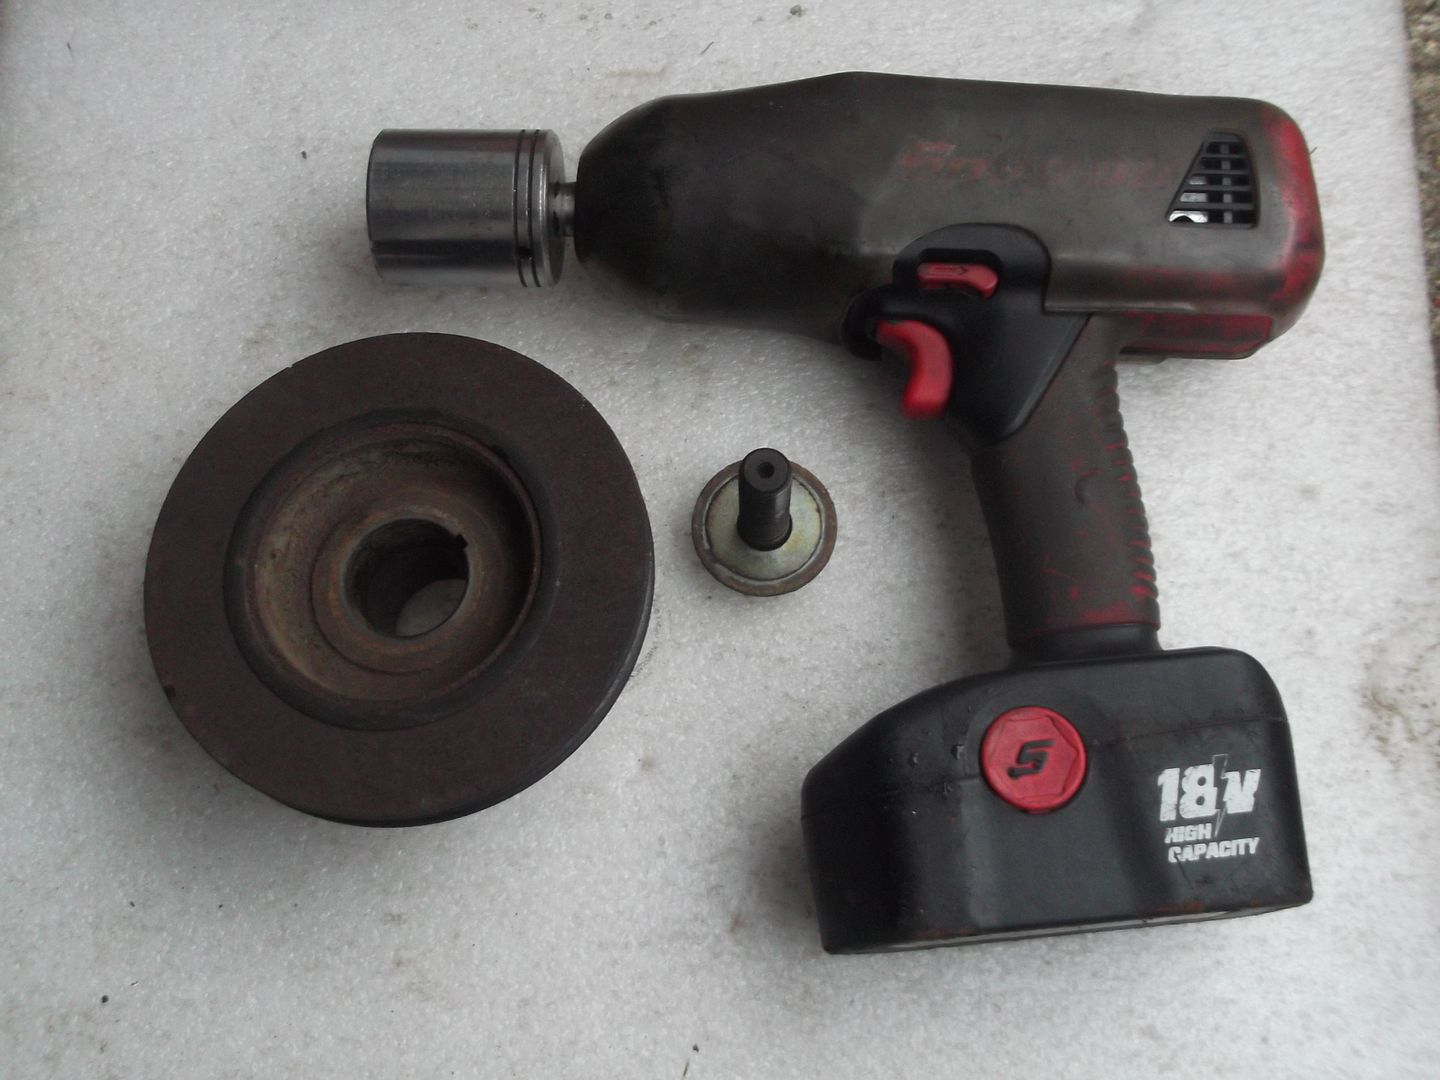
4. Compressor and air hammer.
What do I try first.
I have the new studs nuts washers etc, Opinions greatfully recieved.
Regards Gareth.


G.P.Albrighton

Workshop Help
TRiffic
Posts: 1891
Joined: 27 Feb 2007 23:52
Location: Worldwide

Postby Workshop Help » 30 Mar 2014 17:52

My preference is for an EXPERT with the heat wrench to do the dirty deed.

This chore with the other destructive devices have the better chance of not only the eventual removal of the manifold, but expensive time in removing the studs damaged from the above mentioned devices.

I would opt for spending a little now than a whole bucket load later.

Mildred Hargis

HDRider
Swagester
Posts: 542
Joined: 23 Jun 2008 15:58
Location: USA
Contact:

Postby HDRider » 30 Mar 2014 19:14

Soaking in penetrating oil for a few days helps. When you heat them up make sure that they are solid red in colour. Once they are that hot they should turn fairly easily.

Make sure that you have your socket wrench all set up first. I use a 3/8" drive with a long extension and a wobble extension on the end. Use a 13mm socket as it will fit a little easier.

Once apart replace all the hardware. Don't forget to heat the studs before trying to remove them, they will be as stuck or more than the nuts were.

by the way you can probably do this with MAP gas and a propane torch if oxy/acetylene is not available.

Edward Hamer
Petaluma CA

john 215
TRemendous
Posts: 6867
Joined: 03 Dec 2006 17:12
Location: United Kingdom
Contact:

Postby john 215 » 30 Mar 2014 20:03

Hi,

Attempt to undo them after a long soak in penetrating oil / spray. Hopefully they will come undone, in doing so they will almost certainly destroy the threads. Remove the manifold, and heat up around the studs with a torch and the studs will normally come out. If they don't or snap of flush, I favour drilling and re-tapping ( 10 mm ) rather than eazi out method, if one of those things snap off then you are in a world of pain, as talk about hard !!

Stud kits are available from Robsport and S & S Prep -

https://www.robsport.co.uk/

http://www.ss-preparations.co.uk/


Image


Cheers John

ImageImageImage Image
LIVE LIFE A QUARTER OF A MILE AT A TIME!

1976 Speke FHC Beauty Now with an overdrive conversion

1979 3.5 FHC(STATUS PENDING!!)

1982 2.0 DHC NOW A 4.6, BUILT NOT BROUGHT !!!!

jeffremj
Wedgista
Posts: 1285
Joined: 02 Jan 2005 22:47
Location: United Kingdom
Contact:

Postby jeffremj » 30 Mar 2014 20:06

Can you remove the manifold with down pipe attached and then address the problem 'on the bench'? Also, there are a few manifolds for sale on ebay, so you could get one of those and bring it to as new status and use that - at your leisure.


FI Spyder
TRemendous
Posts: 8920
Joined: 03 Jul 2006 19:54
Location: Canada

Postby FI Spyder » 30 Mar 2014 20:59

My preference on something like this is wire brush with drill excess rust off exposed threads if you can get a brush on it, it's pretty tight in there so might have to use one with bristles facing forward. Then use an air impact wrench, the constant banging will knock the nut loose sooner than later. They also make electric impact wrenches but never tried them as I have a compressor. The studs are big enough they shouldn't break but most impact wrenches have an adjustment and you can start more gentle and work up. Heat the nut if all else fails but you shouldn't have to go there. I tend to use penetrating oil only on smaller stuff that would break under an impact wrench.

- - -TR7 Spider - - - 1978 Spitfire- - - - 1976 Spitfire - - 1988 Tercel 4X4 - Kali on Integra - 1991 Integra - Yellow TCT
Image

john 215
TRemendous
Posts: 6867
Joined: 03 Dec 2006 17:12
Location: United Kingdom
Contact:

Postby john 215 » 31 Mar 2014 05:01

Hi,

<font color="red">They also make electric impact wrenches </font id="red">

Like yourself I too have a compressor at home but also have a electric impact gun and found them, have both 3/8 and 1/2 inch drive and found them to be very handy. Half inch is very powerful, I would say a lot better than cheap air wrench. Downside is being Snap On not cheap over here [:(]


Image


Cheers John

ImageImageImage Image
LIVE LIFE A QUARTER OF A MILE AT A TIME!

1976 Speke FHC Beauty Now with an overdrive conversion

1979 3.5 FHC(STATUS PENDING!!)

1982 2.0 DHC NOW A 4.6, BUILT NOT BROUGHT !!!!

Hasbeen
TRemendous
Posts: 6474
Joined: 28 Apr 2005 12:32
Location: Australia
Contact:

Postby Hasbeen » 31 Mar 2014 06:12

I have found the studs too long to get a socket onto the nut. Check it out, as you may need a long socket to get onto the nut.

Actually I have always the stud had reduced in size due to heat/corrosion, & the nuts kept coming undone, rather than seized. They would skip the thread before fully tight.

I have had to replace those studs on every 7 I have owned.

Good luck with it.

Hasbeen

FI Spyder
TRemendous
Posts: 8920
Joined: 03 Jul 2006 19:54
Location: Canada

Postby FI Spyder » 31 Mar 2014 13:15

<blockquote id="quote"><font size="1" face="Century Gothic, Verdana, Arial, Helvetica" id="quote">quote:<hr height="1" noshade id="quote"><i>Originally posted by Hasbeen</i>

I have found the studs too long to get a socket onto the nut. Check it out, as you may need a long socket to get onto the nut.
<hr height="1" noshade id="quote"></font id="quote"></blockquote id="quote">

That's true, but I did get them out by not fully locking the socket onto the extension to give the stud to go further in the socket, mind you mine weren't too bad. When I reinstalled them I used 3 washers each so the studs didn't protrude so far past the nut.


- - -TR7 Spider - - - 1978 Spitfire- - - - 1976 Spitfire - - 1988 Tercel 4X4 - Kali on Integra - 1991 Integra - Yellow TCT
Image

DNK
TRemendous
Posts: 2711
Joined: 16 Sep 2007 03:49
Location: USA
Contact:

Postby DNK » 31 Mar 2014 13:21

Is it possible just to pull the studs and use shorter ones and then not use as many washers.
Good idea on that. Never occurred to me

Don
Stick a Wedge In It
80 TR7 V8 Kick in the pants
Image

g4zur
Rust Hunter
Posts: 156
Joined: 20 Jun 2013 21:44
Location: United Kingdom
Contact:

Postby g4zur » 01 Apr 2014 18:37

Hi All
Update day 1

Heat was a total waste of time, Never budged the nuts at all and yes i got them red hot, The nuts required a 17mm socket, I have a deep one ideal. Next the air wrench. Hooray after many attempts the first nut came off. Great stuff, Were on a winner. WRONG the next attempt, stud snapped. 50% at the moment, Stud/nut three, the one at the back. Snapped off on first attempt, By the way this is Four hours after start. so 33.3% success.
After much struggling I drilled out one stud by using a an air drill with an ever increasing size of bits, new stud fitted ok. 66.6%.
Last stud, Total disaster.
Broke about an inch from manifold. Dremmel to the rescue. cut it flush to the manifold with cutting disc. centre punch and drilling again, same procedure. but could not get drill the correct angle.
So sorry to admit. a none std mod had to be done. a slightly oversize hole drilled. ground off one edge of new bolt hammered into position and will be fastened with same size nuts.
Eight hours later. Totaly exhausted, stopped. Fit new front pipe gasket etc tomorrow.
Will update day two then.
Reghards Gareth.


G.P.Albrighton

Workshop Help
TRiffic
Posts: 1891
Joined: 27 Feb 2007 23:52
Location: Worldwide

Postby Workshop Help » 01 Apr 2014 19:16

What was the old TV soap opera, 'These are the Day's of Our Lives'?

All our newcomers to the TR7 should ponder and comprehend the sheer perseverance involved in the care & feeding of these beasts.

It's a thing of beauty. Gareth, you earned a free pizza for this chore.

Mildred Hargis

FI Spyder
TRemendous
Posts: 8920
Joined: 03 Jul 2006 19:54
Location: Canada

Postby FI Spyder » 02 Apr 2014 00:24

I'm surprized the studs snapped off. Where they very rusted weakening them? I have three levels of adjustment on my impact wrench. When in doubt I start on the lowest level and work up. These nuts are probably the worst you will encounter because of the exhaust heat (other than head studs which are bimetallic corrosion).

- - -TR7 Spider - - - 1978 Spitfire- - - - 1976 Spitfire - - 1988 Tercel 4X4 - Kali on Integra - 1991 Integra - Yellow TCT
Image

g4zur
Rust Hunter
Posts: 156
Joined: 20 Jun 2013 21:44
Location: United Kingdom
Contact:

Postby g4zur » 02 Apr 2014 17:33

Day 2

Started abot 11am. got the job completed by 3pm, had time to spare so completed another couple of jobs.
To be honest it was a hard job to finish, Not as young as I used to be and its begining to tell.
In conclusion. new stainles full system now fitted, so hopefully no further problems. Glad I did the job myself, Yes the studs/nuts were very rusty. Many thanks to the forum yet again.
Regards Gareth.

G.P.Albrighton

Post Reply

Who is online

Users browsing this forum: No registered users and 18 guests