Page 2 of 2
Re: Heater matrix replacement
Posted: 28 Feb 2022 20:56
by Beans
tr7dan wrote:Did my heater a while back but repaired the original instead of replacing ... I
Nice job!
Re: Heater matrix replacement
Posted: 01 Mar 2022 16:15
by dursleyman
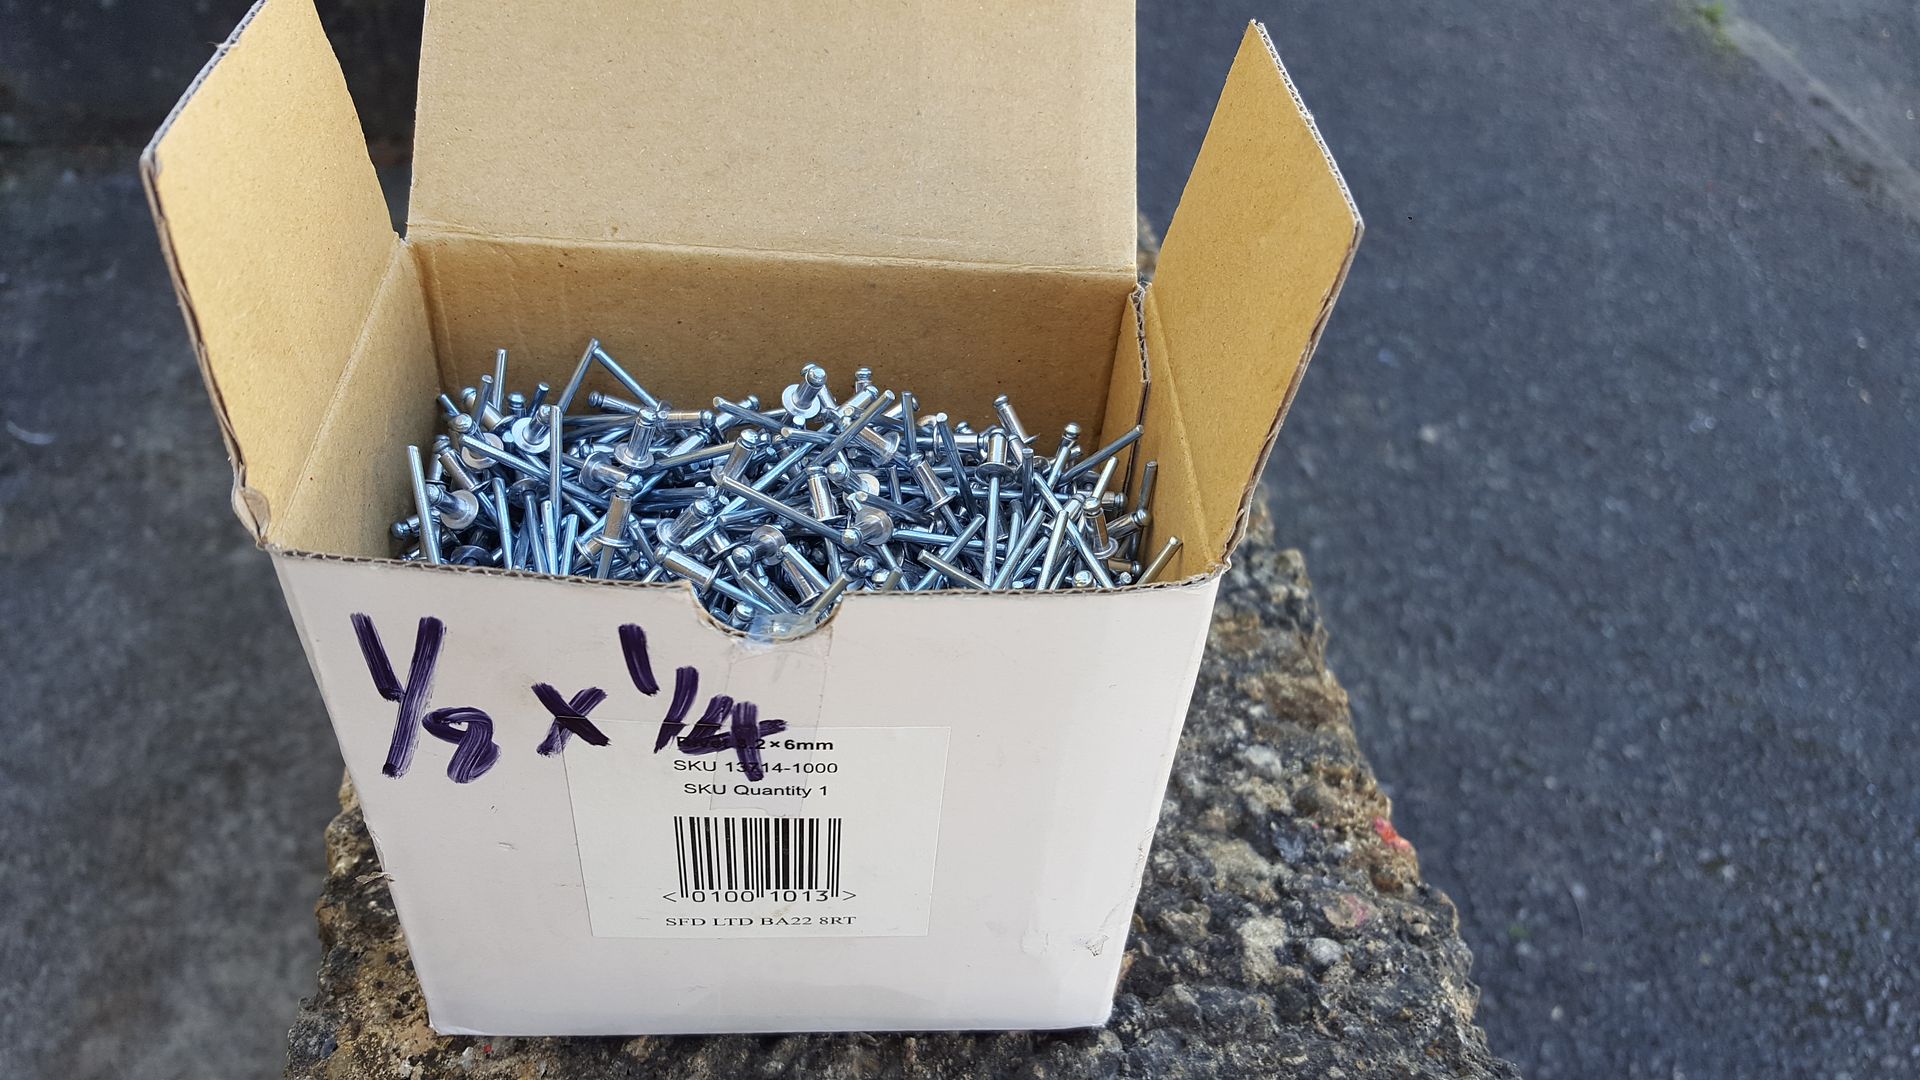
I fitted one of the alternative modern type a few years ago when mine started leaking. Like folks say above, its a fiddly job but not too difficult, just take some care drilling out the rivets. Only thing is I found the new rivets need to shorter than the usual ones most folks have, so had to buy some from Screwfix and they come in a box of 1000 !!
I have a few spares if anyone needs some!

Re: Heater matrix replacement
Posted: 17 Apr 2022 10:17
by Rich K
Here is a picture of the various heater parts after cleaning, de-rusting and painting as appropriate.
Re: Heater matrix replacement
Posted: 17 Apr 2022 19:21
by Beans
Rich K wrote:Here is a picture of the various heater parts after cleaning, de-rusting and painting as appropriate.
That looks vaguely familiar


Re: Heater matrix replacement
Posted: 18 Apr 2022 09:10
by Rich K
Hi Beans, yes I must admit to using your detailed blog as a guide. It’s surprising how many individual parts are involved in the heater assembly. It’s also apparent what a poor state they get into after circa 40+ years, especially where rust develops where the now disintegrated foam was glued onto the various metal flaps.
Re: Heater matrix replacement
Posted: 18 Apr 2022 13:26
by busheytrader
Well, as the warmer weather returns I’ve put the replacement VW matrix in a safe place in the garage.
Taking the dashboard out isn’t my favourite past time so it can wait until it turns colder again. Most of the sponge / foam has exited through the vents over the past four decades. I’ll be servicing the wedge over the next few weekends to keep me busy prior to a MOT / MOT assessment.
There’s so much good content within the forum search function to refer to, such as the heater rebuild.
Re: Heater matrix replacement
Posted: 18 Apr 2022 18:45
by Beans
Rich K wrote: ... especially where rust develops where the now disintegrated foam was glued onto the various metal flaps.
A friend with a blasting cabinet or a friendly blast shop are essential with a heater rebuilt!
Re: Heater matrix replacement
Posted: 19 Apr 2022 03:32
by Cobber
How timely............I acquired a grit blasting cabinet just last week!
Re: Heater matrix replacement
Posted: 19 Apr 2022 20:42
by Rich K
Sadly I had to de rust the metal heater components using a wire wheel in a drill as I don’t currently have a compressor/blast cabinet. Soon to be rectified though!
Thought I should post pictures of the VW/Audi matrix in situ, especially as I had to make a few minor tweaks to the casing in order to get it to fit satisfactorily. These consisted of small slots made either side of the steel housing, opening out the plastic casing where the pipes exit, and also shaving a few millimetres off the plastic casing on the opposite side to the pipes. Hopefully this will be obvious from the picture that I have marked up. It becomes clear where you need to remove material when you offer up the matrix into the housing. The metal bands that hold the plastic ends onto the VW matrix are just a little too squared off to allow the matrix to drop all the way in hence the need to create clearance at the points indicated.
Re: Heater matrix replacement
Posted: 20 Apr 2022 11:56
by busheytrader
Thanks Rich. I’ve pinned this for later use.
I’ve used Bilthamber for rust removal in the past. (I don’t have a blast cabinet) There’s lots of sceptics since they’re water based. They don’t remove sound paint from metal but ace at removing the rust dipped into it.
Adam
Re: Heater matrix replacement
Posted: 21 Apr 2022 09:39
by Rich K
Hi Adam, for reference the rivet sizes you will need are 3.2 x 6mm and 3.2 x 10mm where it’s necessary to use washers at the back of the joint if the holes in the plastic casing have been damaged or melted when drilling out the original rivets. The washer size is M3. I drilled extra holes and used corresponding extra rivets and washers to secure the plastic plate that sits inside the base (the one that has 3 levers that connect the small side flaps and the rear bottom flap) as this had bowed upwards with age causing the top of the small side flaps to catch on the housing above. Good luck for when you get around to doing your heater.
I haven’t tried any Bilthamber products before so thanks for the recommendation.
Cheers, Rich.