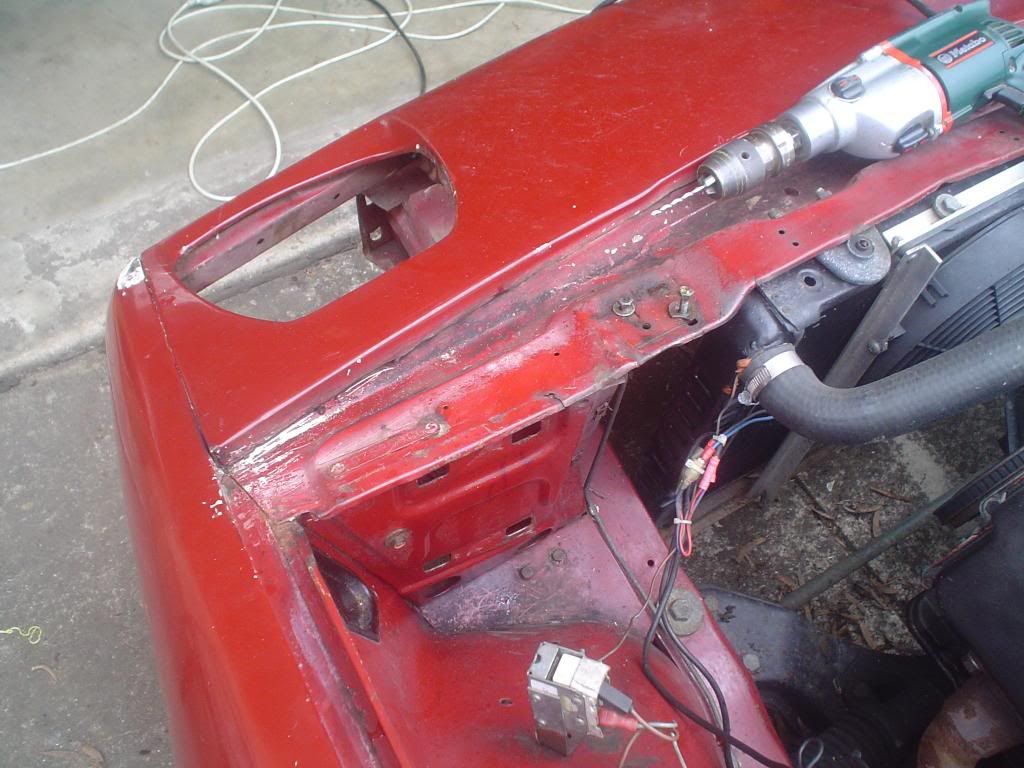
It's not a difficult job to remove the panel but you'll need a drill and spot-weld cutter bits, a hammer and centre punch, and an angle grinder to cut through some seam welds.
The panel on my Speke-built shell had the following fixings:
- 4 bolts at each end through the front wings
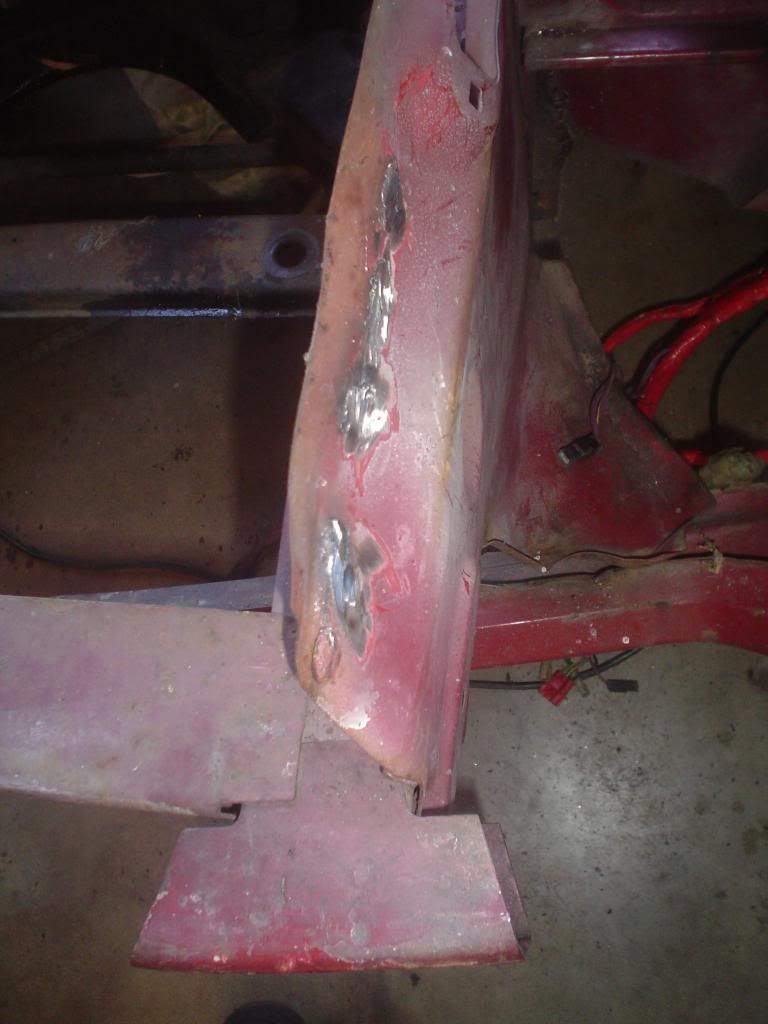
- 4 spot welds at each end through the headlamp mounting closing panel (YKC17/YKC3280). On the right-hand side these were easy to drill out but on the other side the welder had pushed the gun hard against the closing panel which made the welds much harder to drill out and resulted in the damage visible in the photographs.
- 2 spot welds at each end through the inner flitch. Again, on the right-hand these were easy to access to drill out but the left-hand side the front spot-weld was right in the bottom of the gutter which made access very tricky and frustrating.
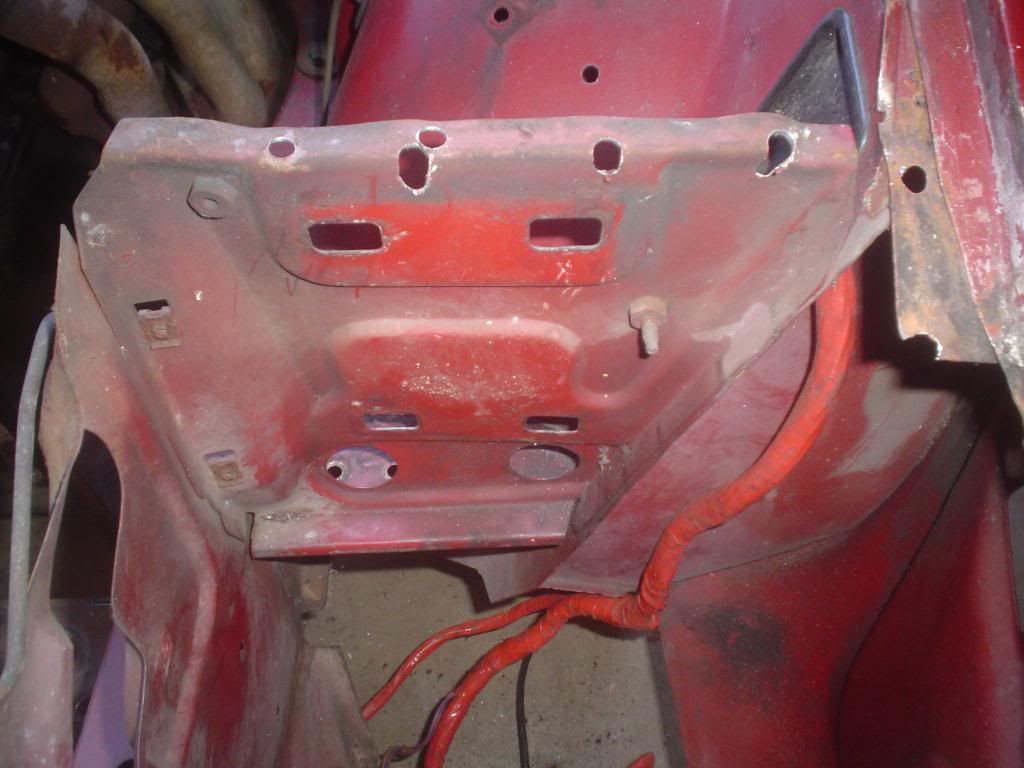
- 2 or 3 spot welds at each end through front channel closing panel (XKC148/XKC149) onto the front wings. These are a smaller diameter than the other spot welds. From memory I used a 1/4" cutter for these. (Sorry, no picture of these.)
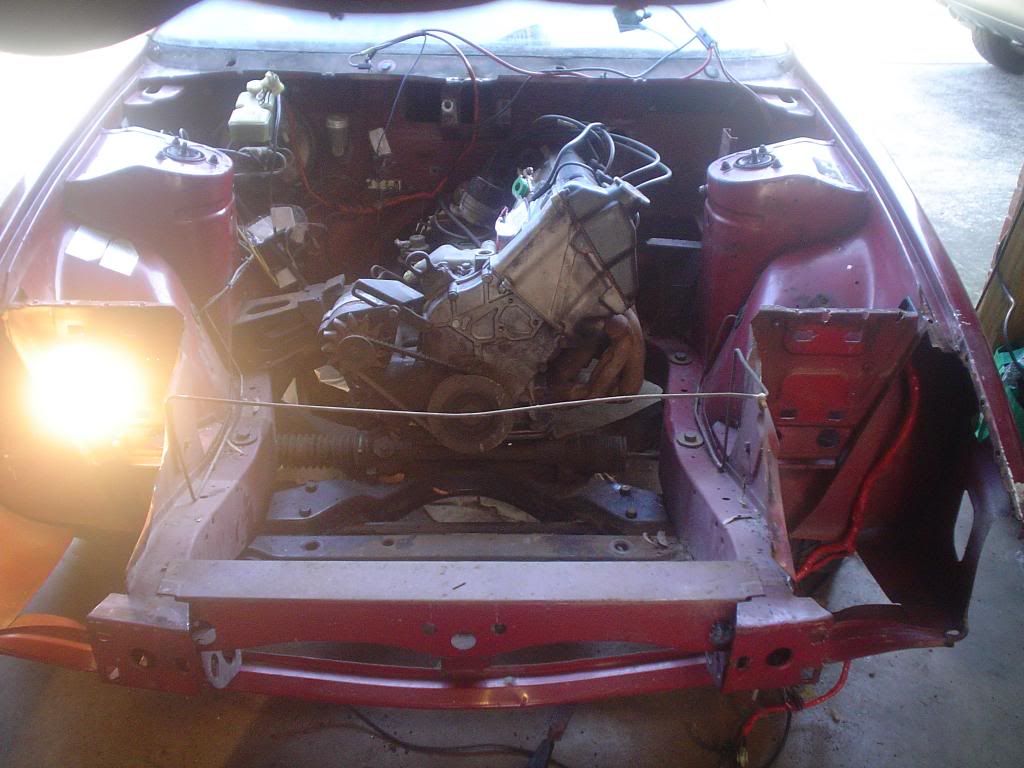
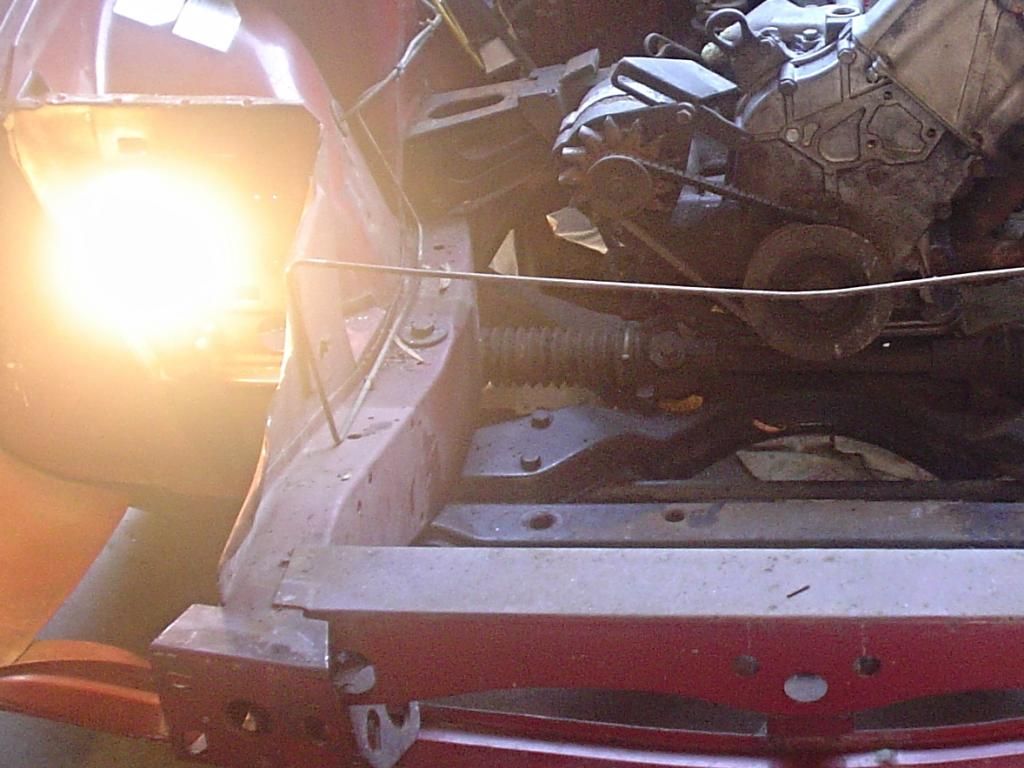
- 3 or 4 seam welds at each side onto the radiator duct closing panel (YKC1551/YKC1552).
It took me a morning to remove the panel working slowly at it. The most important thing is to identify where the spot welds are and to accurately centre punch them so you can cleanly break the welds. Hopefully you won't have the problem I had with the location of the left-hand spot-welds. I suspect these were done by someone returning from a liquid lunch or who just didn't care about quality of workmanship.
Pictures below:
Owen, aka:
- Marsu (570 posts, last dated 28 Nov 2011)
- omichaelshar (557 posts, last dated 17 Mar 2009)
