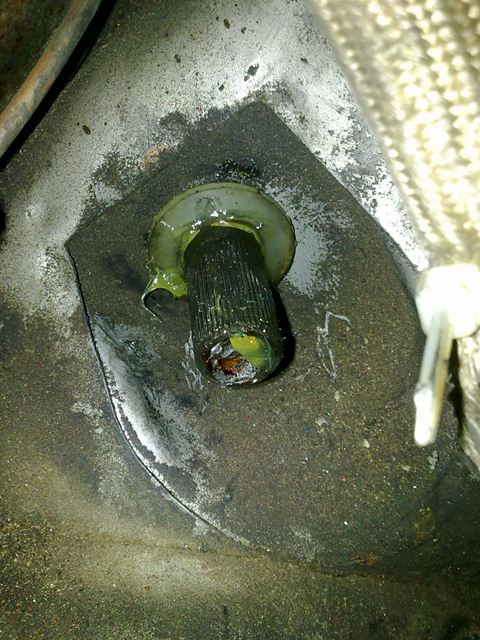
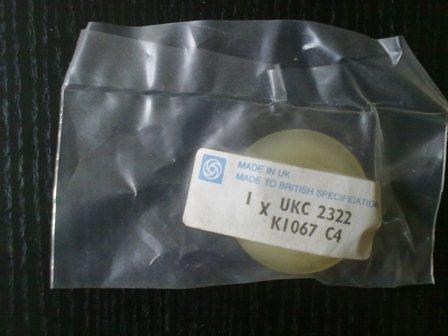
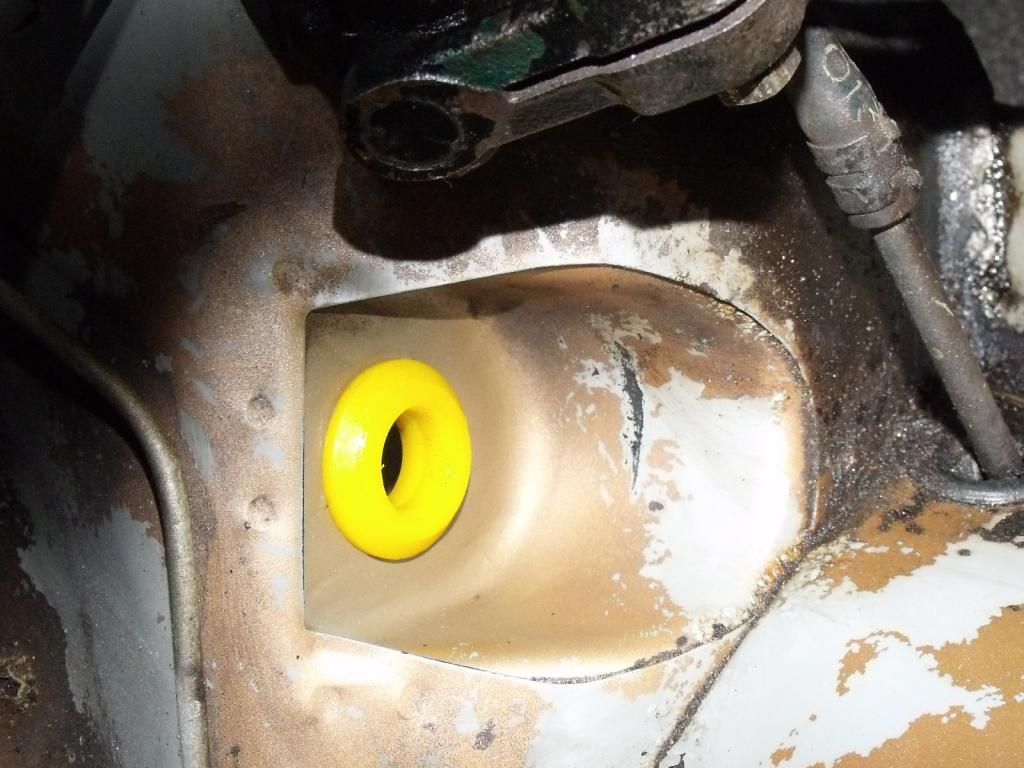
<blockquote id="quote"><font size="1" face="Century Gothic, Verdana, Arial, Helvetica" id="quote">quote:<hr height="1" noshade id="quote">I note that the old bush was definitely fitted from the inside. <hr height="1" noshade id="quote"></font id="quote"></blockquote id="quote">Your old bush doesn't look original. Here is mine that is fitted from the engine side:
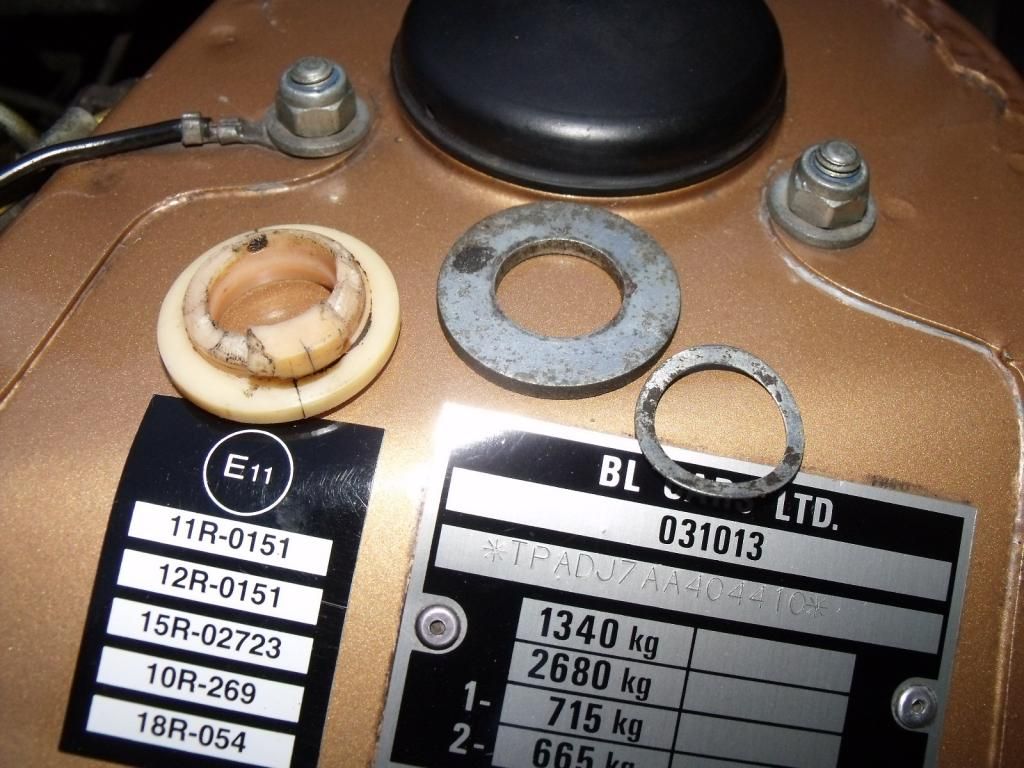
<blockquote id="quote"><font size="1" face="Century Gothic, Verdana, Arial, Helvetica" id="quote">quote:<hr height="1" noshade id="quote">Also when we got the steering column detached two washers fell out, not just one (see photo). Any idea which order these go back?
<hr height="1" noshade id="quote"></font id="quote"></blockquote id="quote">From the parts list and in my experience, the wider, flatter side of the bush is on the engine side. Once the steering column is through the bush, the big flat washer goes on first (WP14) followed by the thin springy washer (UKC5508).
In summary, the flat side of the bush is on the engine bay side. If your bush has a flat side inside the car, it is probably fitted incorrectly.


 [img][IMG]http://i615.photobucket.com/albums/tt234/nickmi/TR7%201975/Yellow.jpg[/img]
 [/URL]
 [/URL]