
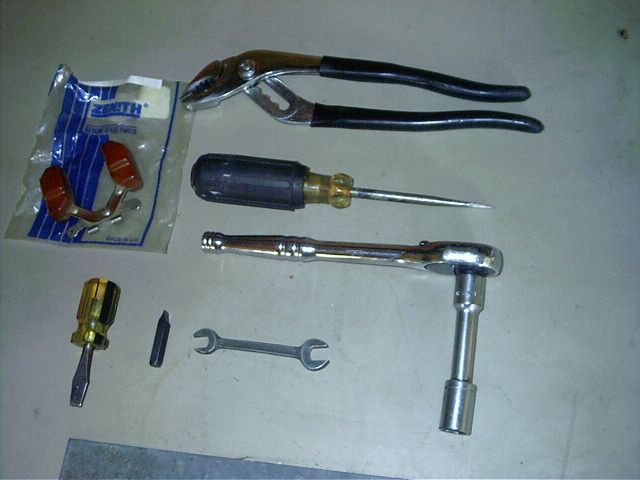
All the tools needed to perform this chore are shown below. The single most important tool is the smallest one. It is a 5/16" shaft screwdriver bit from the impact driver set we have had since Christ was a PFC.
After removing all the extraneous hardware like the battery and inner & outer air cleaner assembly, we are able to get down the affair at hand.
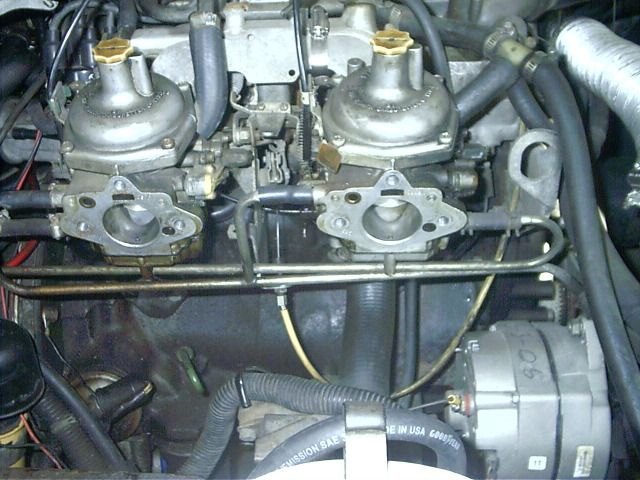
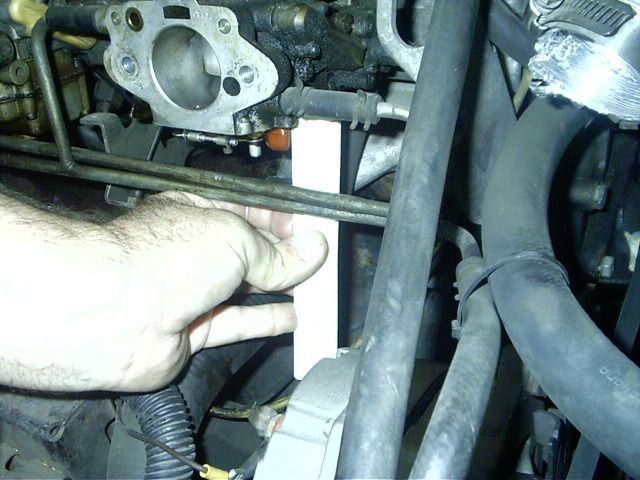
Using the stubby screwdriver, remove all the accessible float bowl screws.
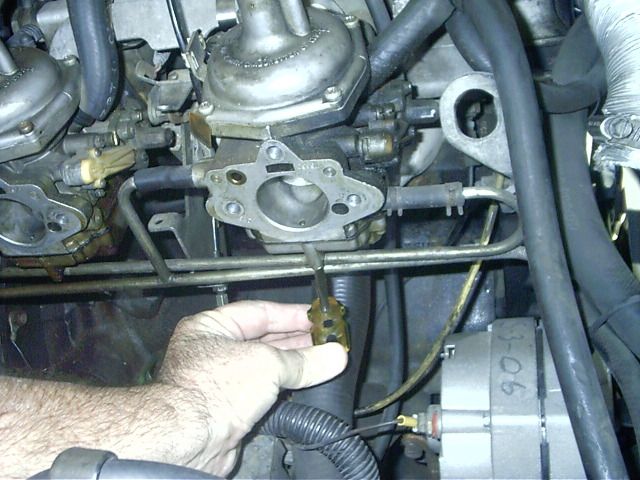
Then, to access the rear most bowl screws feel around for the screw head and insert the bit into the slot. Hold the bit and rotate it with the 5/16" wrench to loosen. For sure you will need this on the middle rear screw and possibly on the two side screws.

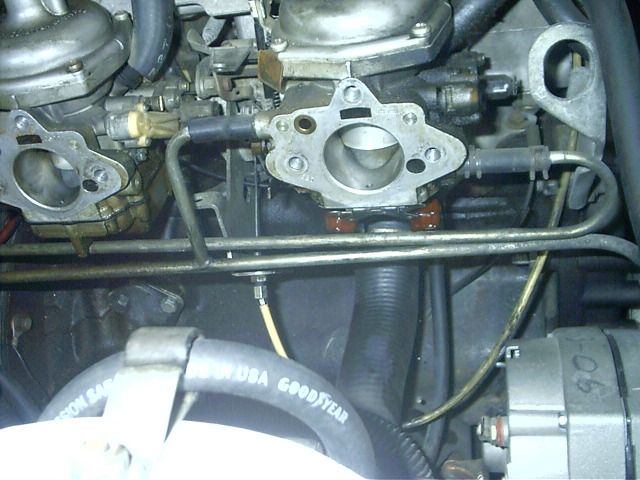
With the six screws removed and safely placed on the workbench to be cleaned for reuse, remove the float bowl for cleaning. Note how the float is ready to be removed from it's fulcrum.
The reason we pulled the float bowl was to replace the leaking float. Here the replacement float is installed properly on the fulcrum and the float height is being measured using a plastic ruler. I prefer to set the float height at about 5/8" measured from the carburetor body flange to the bottom of the float while it is being held up against the inlet needle. This may be a trifle on the low side but is sufficient to supply fuel to the cylinders up to 105mph, should I care to drive that fast.
When one considers that the float bowl is merely a bucket to hold just enough gasoline for the venturi to draw it up to the mixing chamber with the incoming air, having a higher float level is an invitation to leakage. Especially when one has an efficient electric fuel pump pushing fuel thru the lines to gush into the float bowl. I choose to keep things on the lean and dry side so as not to waste gasoline.
After the bowl has been reinstalled in the reverse manner of it's removal, start the engine to confirm there is no leakage and the bowl has reloaded itself. This would be a good time to check your airflow using your meter as well as the synchronization of the air valves. You may be surprised how a little tweaking with the screwdriver can positively affect your TR7 engines performance.
Once all has been confirmed as okay, reinstall the air cleaner assembly and battery. Start it up one more time to make sure, then take the car for a test ride to the store. Let's see, you need a loaf of bread, a bag of apples, and she wants some laundry soap.
Mildred Hargis